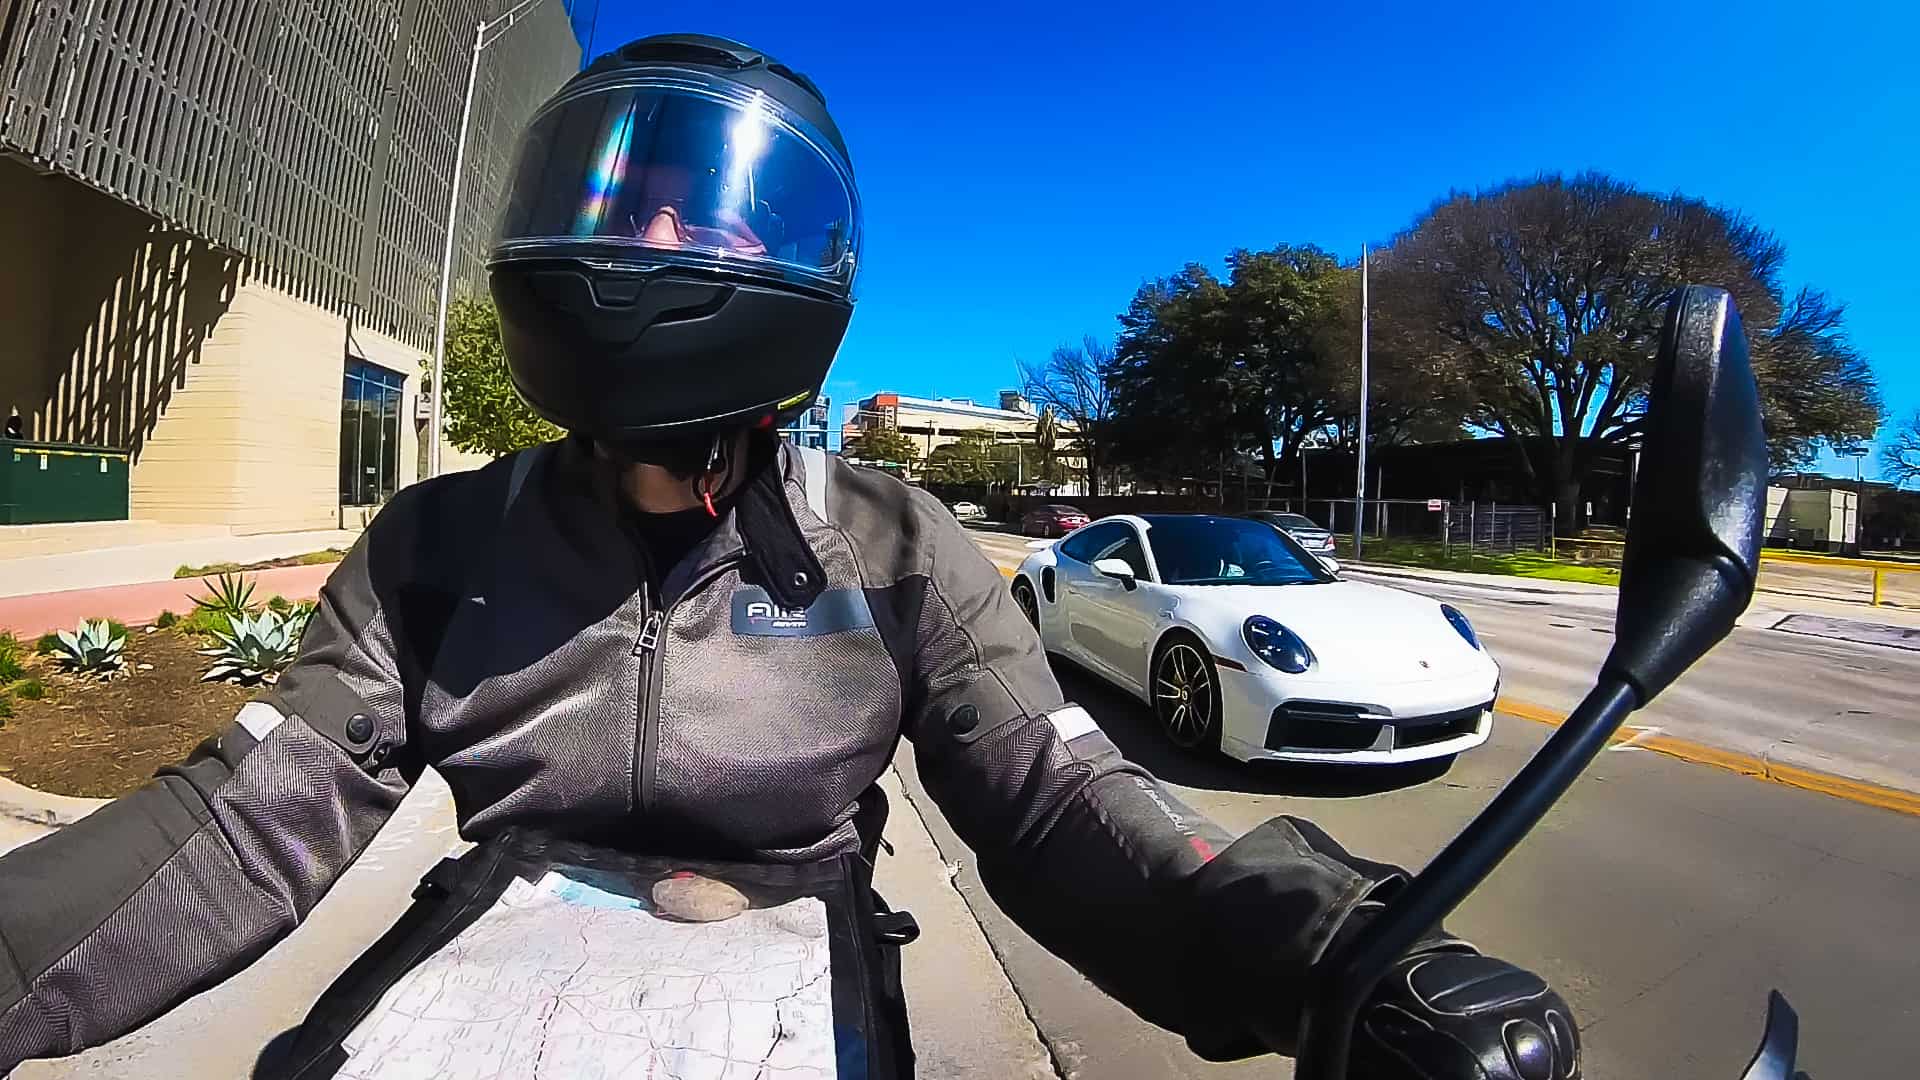
I went for a ride with Kiki to downtown Austin. It was a perfect day! Please enjoy the video!
I went for a ride with Kiki to downtown Austin. It was a perfect day! Please enjoy the video!
We went to RideNow Austin to pick up a part that we had ordered. It was a good ride and fun to do a little shopping at the motorcycling shop!
I mounted the camera to the handlebars and also used my chest mount for some new camera angles. I like these a lot!
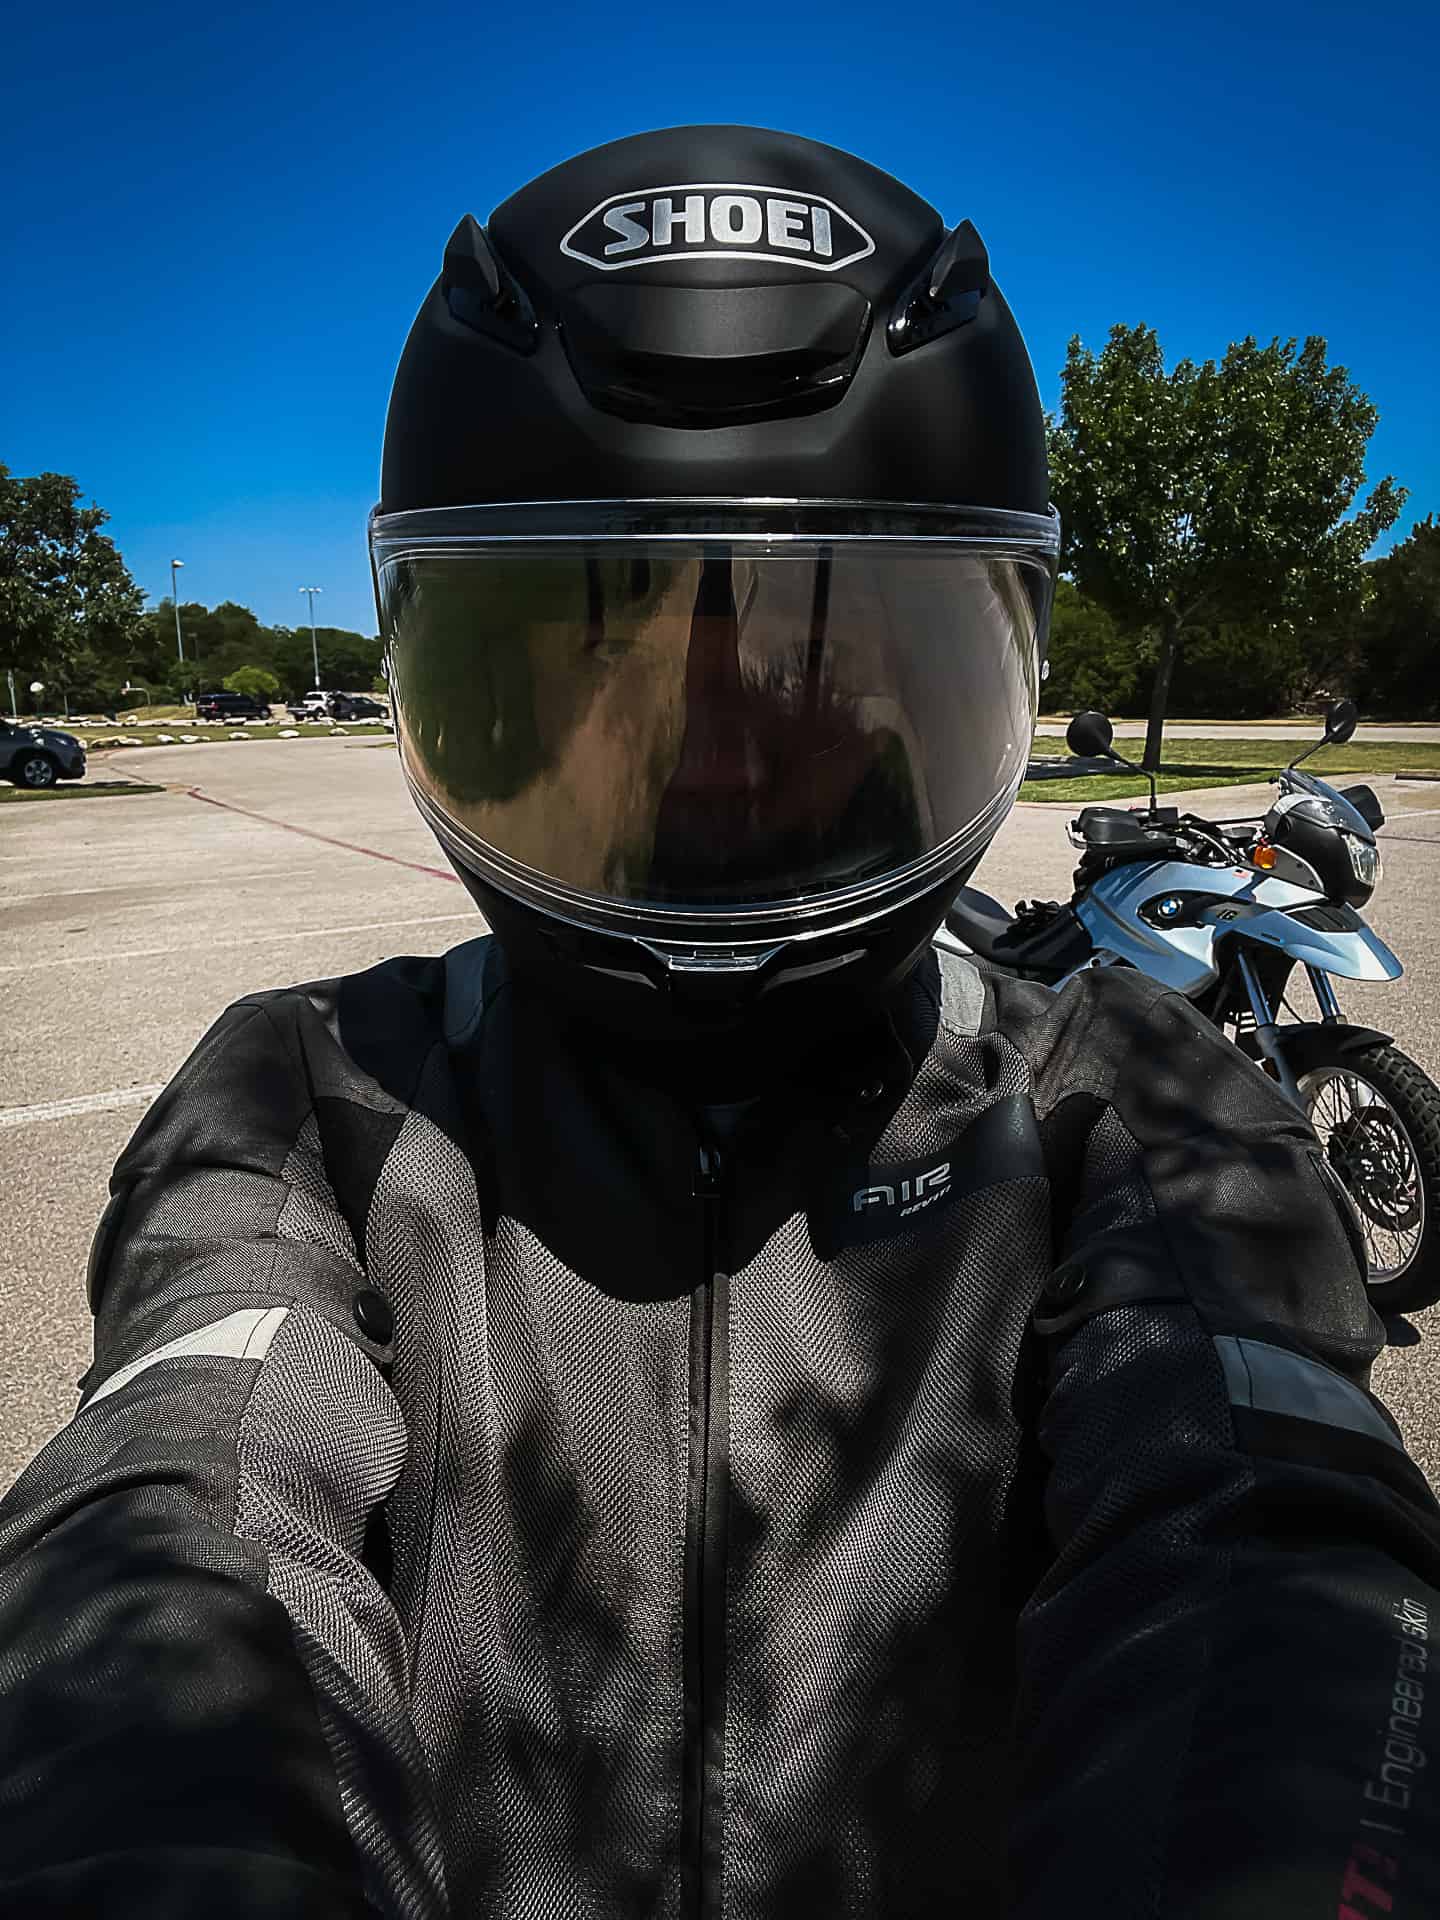
Trying to beat the heat by going for a morning ride. But it was already in the 90s! 😫 Still fun, though.
This evening I did a bit of maintenance on Kiki: check oil, check coolant level, and check battery water level. I also removed some wiring I had added to rig up a Garmin GPS unit that I no longer use.
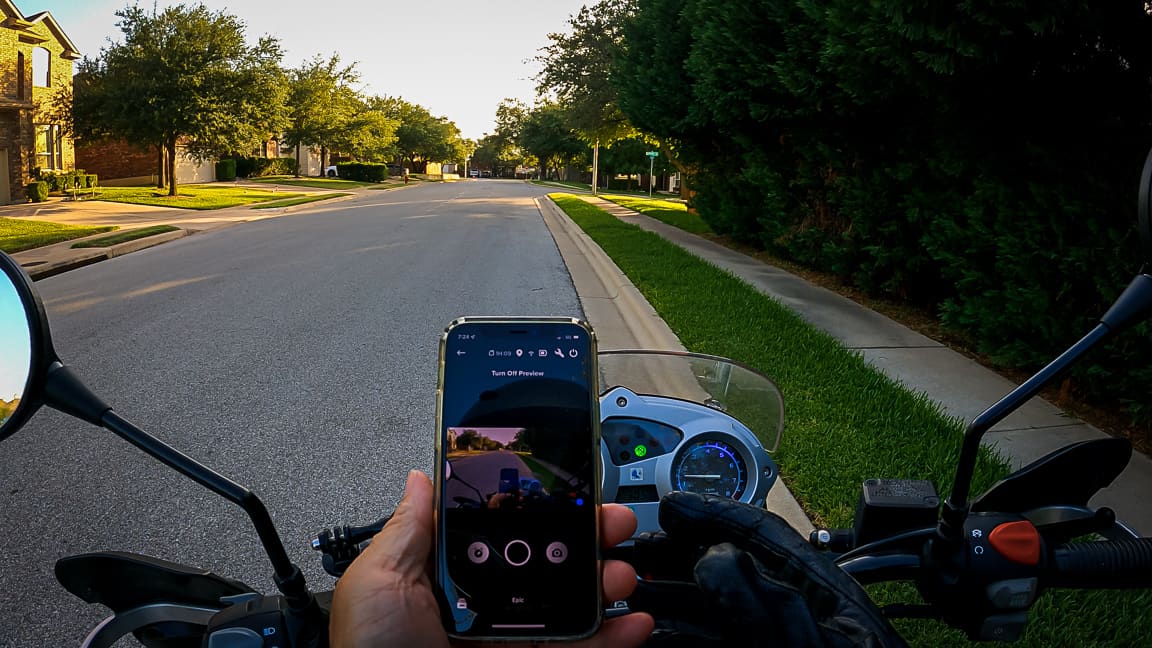
Then I went for a few laps around my neighborhood testing out different GoPro settings, and I have found that on my GoPro Hero9, Wide with High stabilization seems to be best. This is for the chin-mounted camera position. I want to add a handlebar cam that points back at me, and I have a mount set up for either GoPro or iPhone. I just need to test it out. Maybe later this weekend. 😀
Here’s a video of a nice stretch of road in north Austin, called Lime Creek Road. Very fun!
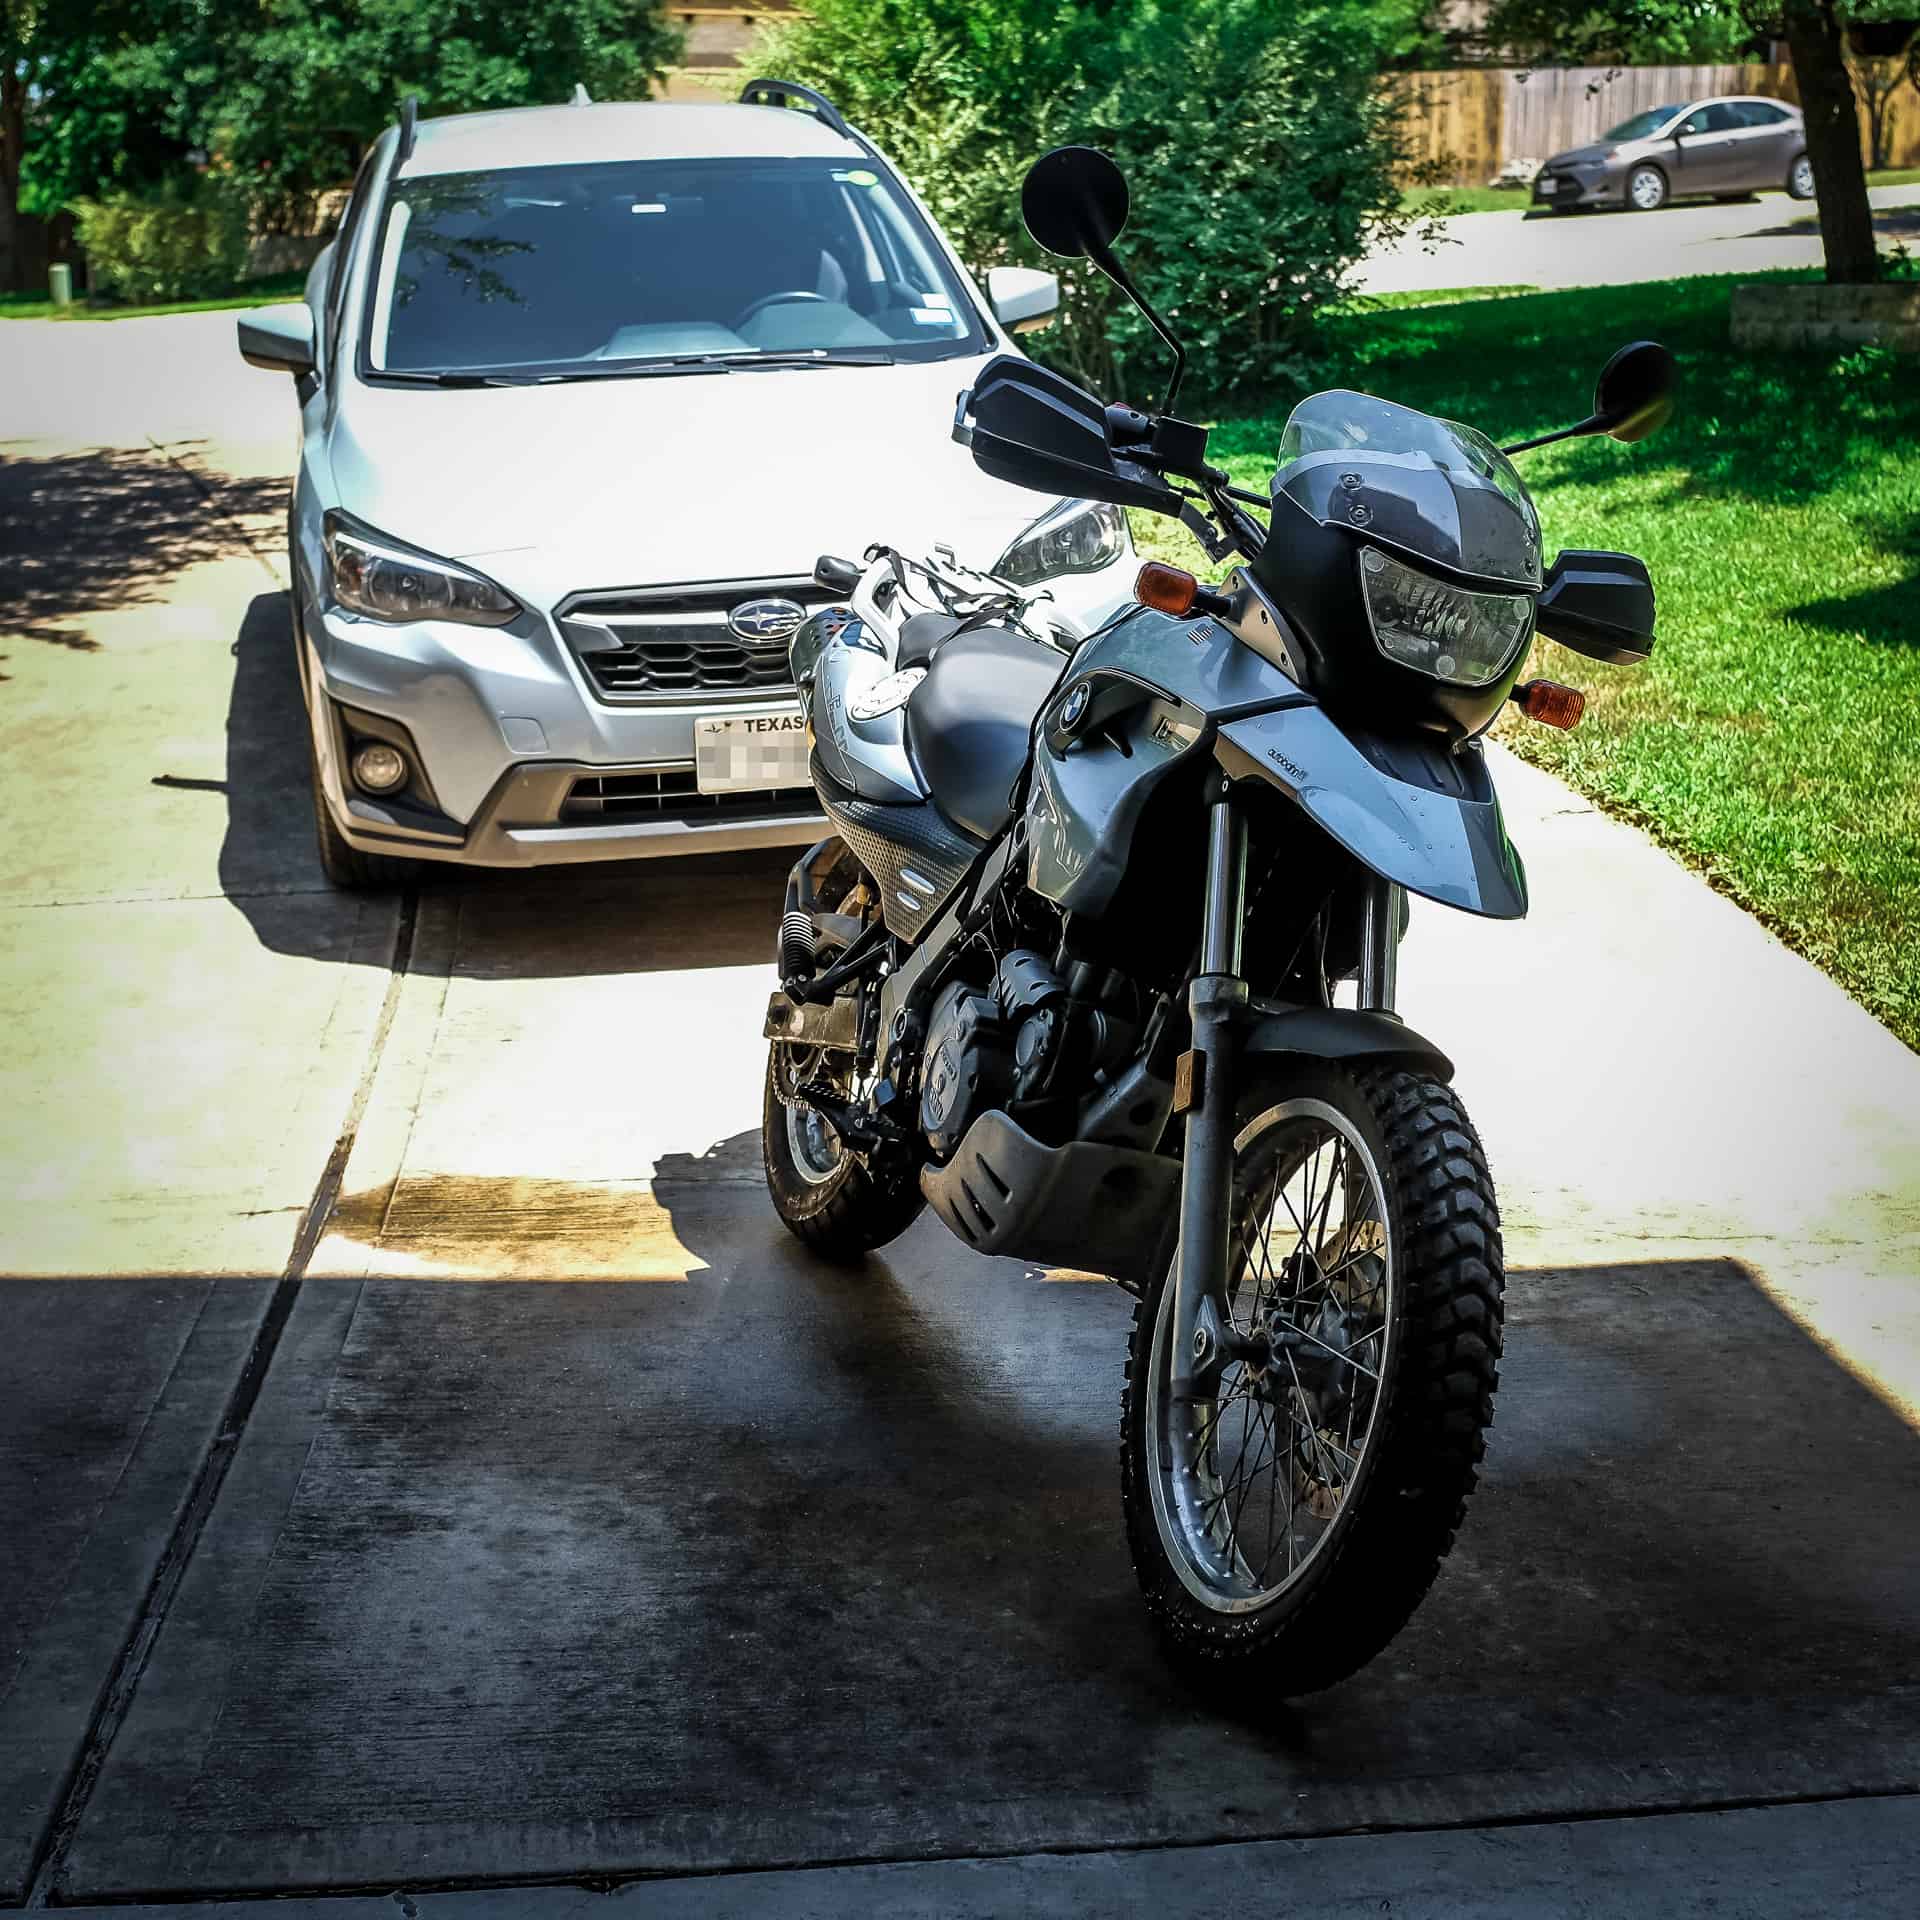
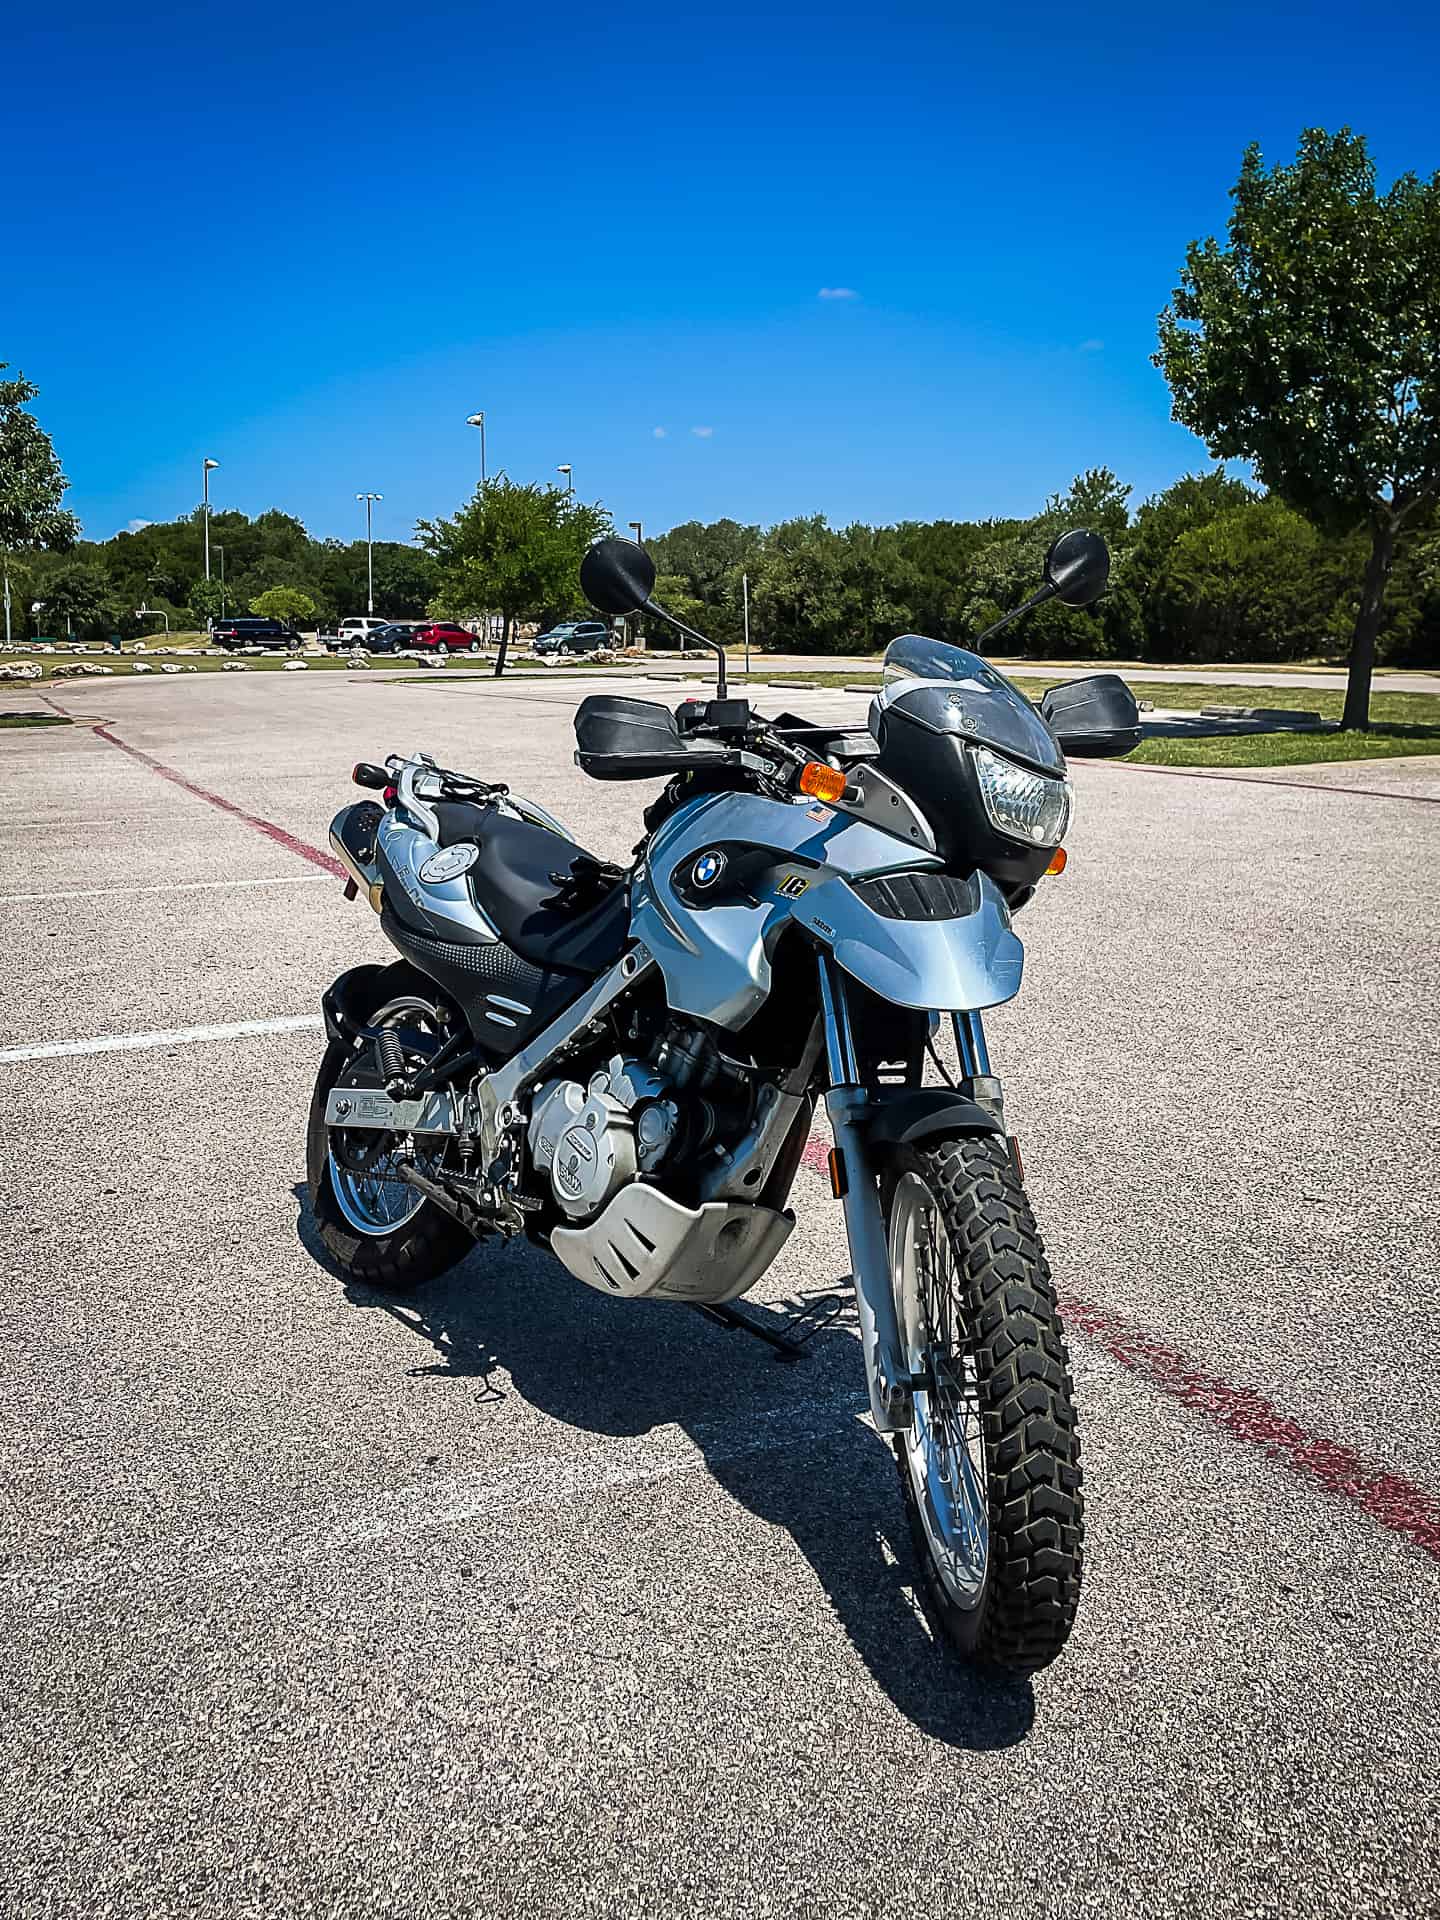
Kiki is going to the repair shop today to get fixed up. Not sure why she won’t start up, but hopefully it won’t cost too much. Of course BMWs are expensive to maintain, but luckily this is the first time for repair. Fingers crossed!
So, I rinsed her off today, which is maybe the third time (in 10 years) that I have done that. Usually it’s the rain that does it… hey, Kiki’s a GS. She’s meant to have a bit of dirt on her, right?
So I decided to go on a nice long ride this past weekend and visit (briefly) a few states that I’ve never ridden in before. In fact, it was my first time ever to visit Arkansas and Oklahoma! You know, Texas is so huge that it takes quite a while to reach any border if you live in the center of it, which I do. However, I love long-distance riding and since I had two days free I figured I would do it!

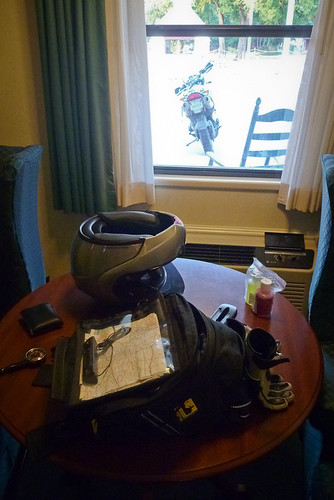
My route took me east on Hwy 79, and actually continued the length of it into Louisiana. From there I continued north into Arkansas and to my stop for the night in Murfreesboro. The next morning it was off to the Ouachita National Forest and Oklahoma before heading back south and home again. All in all, I traveled about 1,040 miles, 30 of which were because I missed a turn off to Hwy 79 on the way back. Doh!
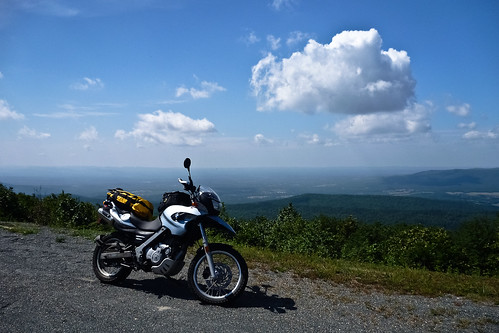
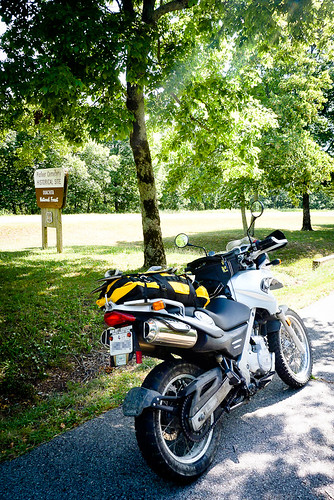
My favorite part of the ride was definitely the forest area in Arkansas and Oklahoma, and Talimena Scenic Drive in particular. There were lots of nice vistas and plenty of clean air and I wish I could have spent more time there. And the riding around there was super! Lots of twisties and elevation changes to keep things fun. Not everything went smoothly, though, but at least it was nothing major. The USB to cigarette lighter adapter connection came loose and wouldn’t stay tight which meant I couldn’t have my GPS running all the time. I blame that for my 30 mile detour. I have batteries in the GPS, but they ran out of juice quickly. Secondly, one of my earpieces on my earbuds went out which meant no music on the way home. Lastly, when I arrived home I dropped my bike in the driveway. Ouch! I bent the handguard and the bike suffered a few scratches (adds character to a GS) but no real damage. I did manage to lift the bike up on my own so at least I know I can do that.
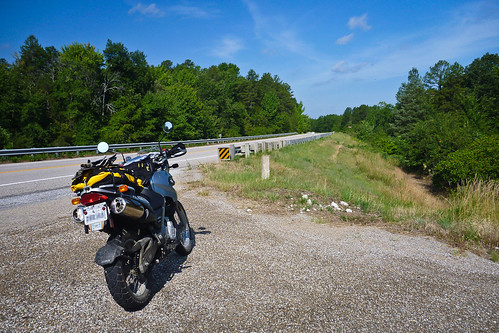
At any rate, it was a really fun trip and I can now put on three more state stickers on the bike! I’m up to five: Texas, New Mexico, Louisiana, Arkansas, and Oklahoma.
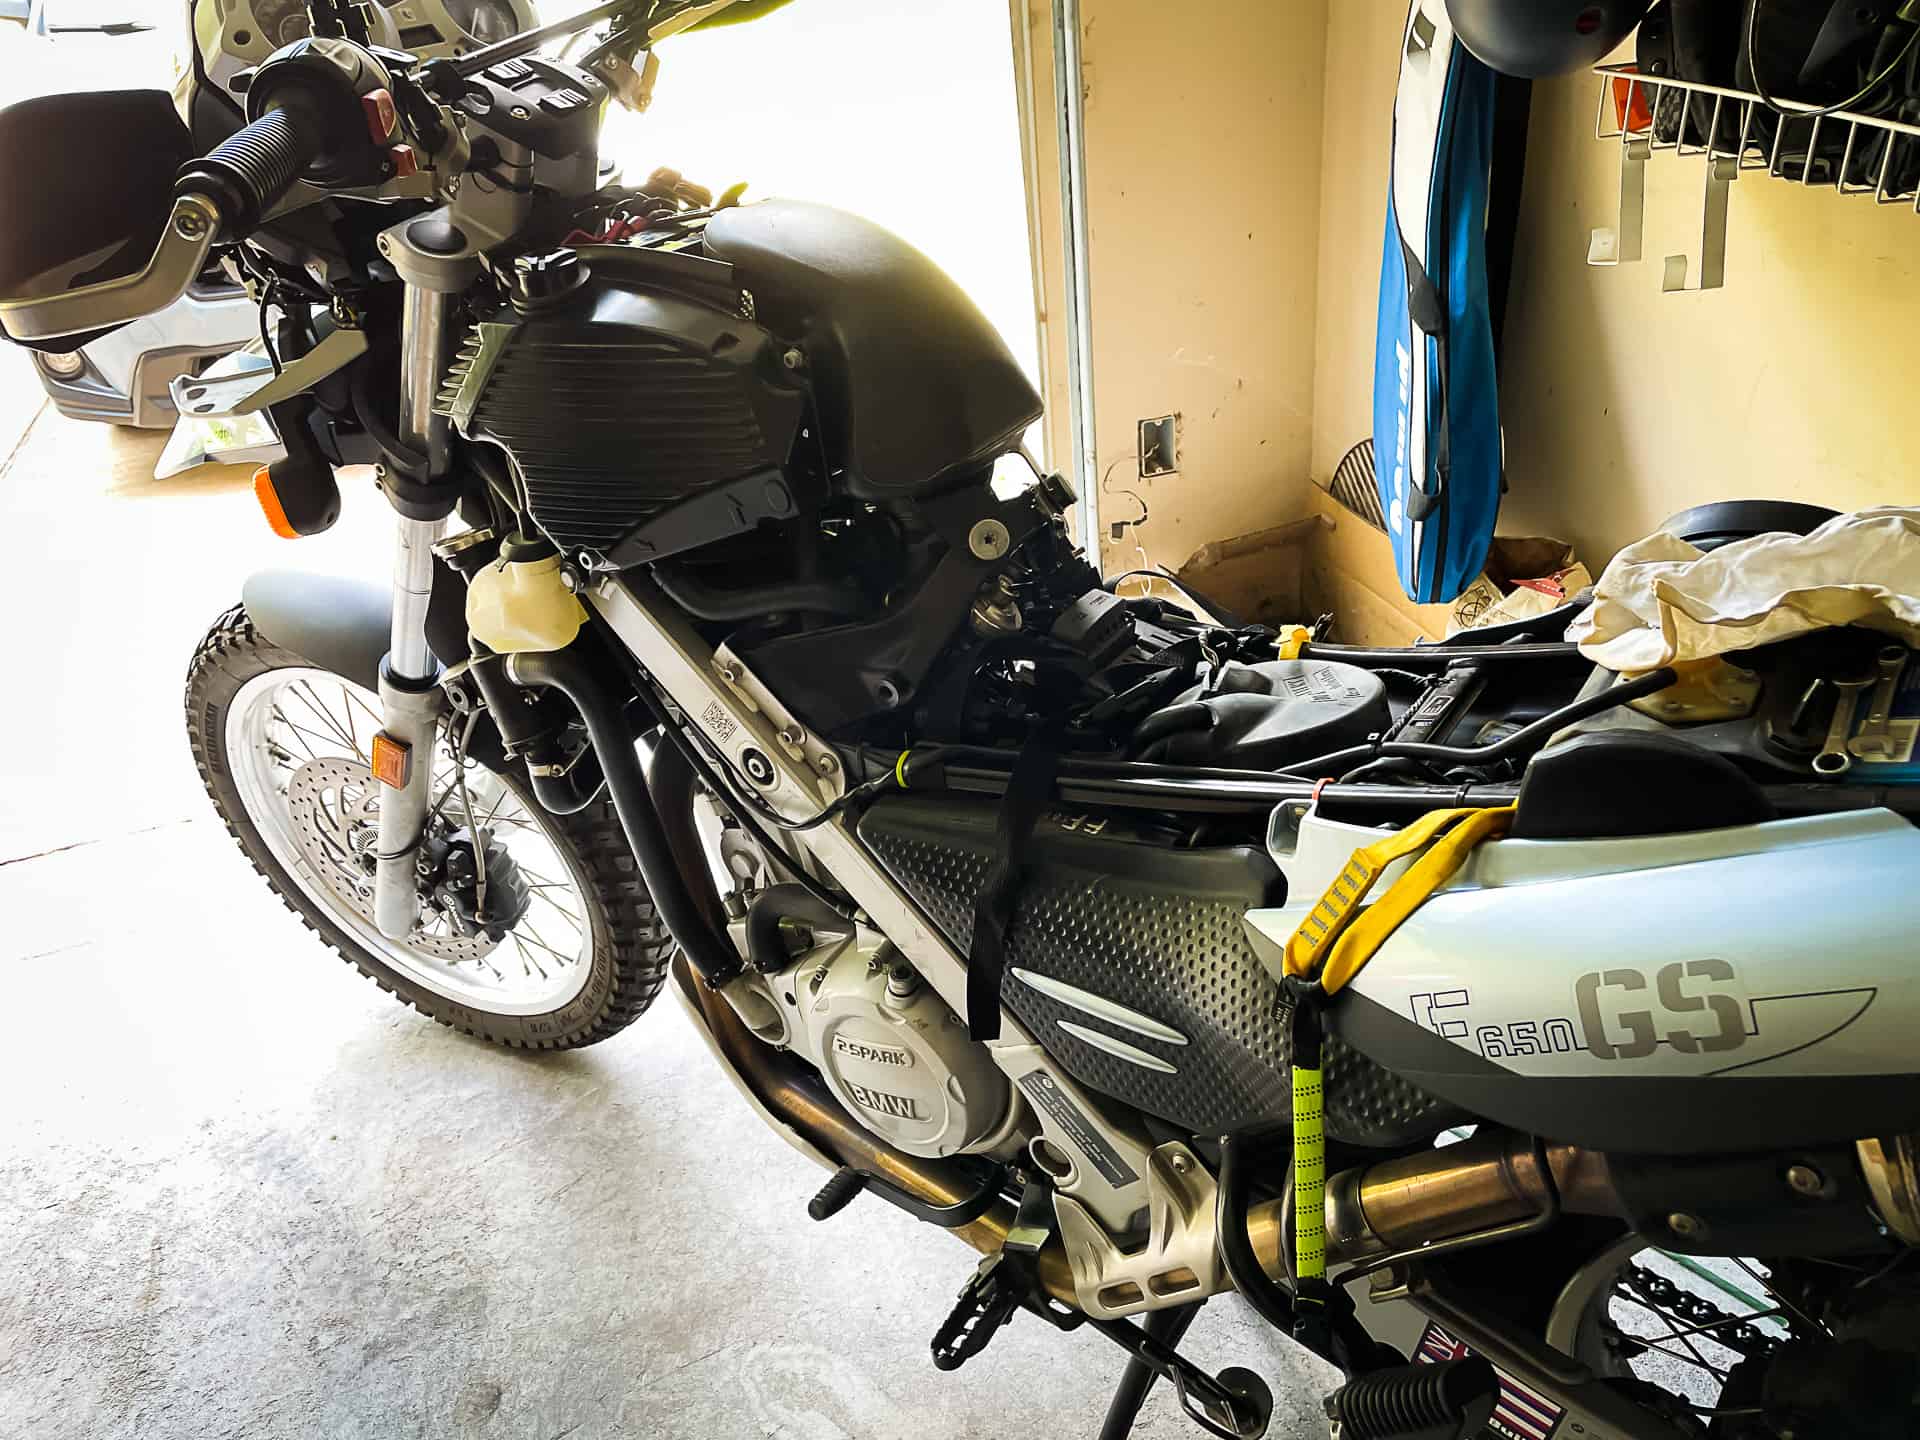
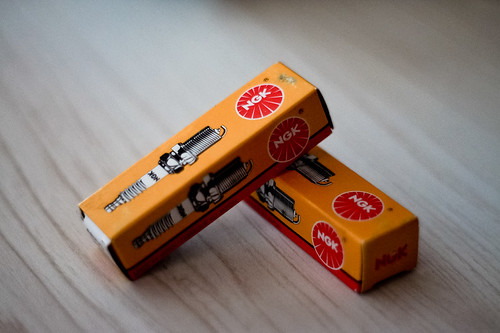
Kiki is nearing the 12,000 mile mark which means a bunch of service needs to be done and I’m trying to do most of it myself to save a bit of cash. One of the things I haven’t done before on the GS is change the spark plugs. Although my bike is a single-cylinder model, it’s a “dual-spark” which means there are two spark plugs. I decided to use the stock NGK DR8EB plugs as replacements and the price for these were about $4.50 each as opposed to an Iridium plug which goes for upwards of $20. Too pricey for me and the performance difference is debatable.
For a nice guide on how to change the spark plugs, you can check out the FAQ at the Chain Gang site. However, there were a few parts of the procedure that could use a little more detail. For my 2007 model, I’d recommend taking off the plastics, removing the snorkel, the battery, and the battery tray. By doing this, you can access the tops of the coil/caps. There is a grey rubber sleeve that secures the coil to a metal mount, and you’ll want to turn the coil so that the sleeve comes off of the metal mount. After that, you can pull the coil/cap up off of the plug. It’s easier if you have small hands. For the coil/cap on the side, you might be able to push that up from the side, rather than pull up from the top.
Click on the photos below to view at Flickr where you can see highlighted notes.
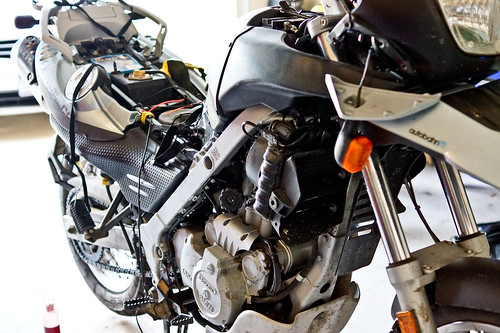
Once you get the coil/caps off, blow off the plug area with compressed air to get rid of any dirt. Next, you can use the spark plug socket included in the BMW toolkit to unscrew the plugs. For the center plug, you will have to drop the socket down onto it from by where the battery was. Then, use a big screwdriver and put it in the top of the socket. My plug was in there pretty tight, so I used some vice-grips on the screwdriver handle to turn the socket. Once you get the plugs out, just reverse the process and you’ll be done!
On my old Supercub, changing the plug would take only a couple minutes since it was so easily accessible. The BMW F650 GS’s plugs are tucked in there pretty tightly and there was plenty of cussing and sweating when I was figuring out how to do it. But now that I know how it’s done, the next change will be pretty easy. Anyways, I hope this post helps someone who might be unclear on what they have to do to change their plugs. You can always leave a comment here if you want me to contact you for more explanation!
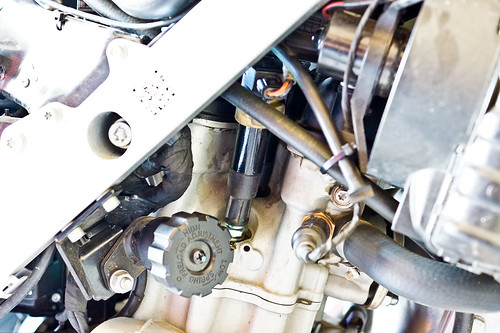
Today I changed the brake fluid on my GS. The speedometer is at 6, 772, so it was a little overdue. I think this is the first time it was changed. The old fluid was looking dark in the reservoir, that’s for sure!
With the stock bleeder screws, this would be a two-person operation, where one person would loosen the valve, then the second person would squeeze the brake lever, then the first person would tighten the valve so no air would go back into the system when the brake lever is released. I figured I’d be changing the brake fluid often so I bought a pair of “Speedbleeders“. These are replacement bleeder screws which have a one way valve which won’t let any air back into the system when you release the brake.
Before I could do that, however, I had to change out the stock bleeder screws with the new Speedbleeders. This was pretty easy just using an 11mm wrench. When you are doing this, some of the old fluid is going to come out so it’s best to have some rags or paper towels on hand and maybe put some cardboard on the ground. Brake fluid supposedly eats through paint, so be careful not to get it on any painted parts. I also wore some rubber gloves that I had leftover from when I used to work on the Supercub. Another tip is to not open up the brake fluid reservoir until after you are done replacing the bleeder screws so that there is at least some vacuum pressure keeping the fluid from free-flowing out.
Unscrew the old bleeder screw, then screw the Speedbleed in by hand to make sure you are threading it correctly. Then use the wrench to tighten it all the way down until it seats. There’s some sealing material on the threads, so it will take a little muscle to screw them in. Don’t over-tighten them, however!
Once the new Speedbleeders are installed, it’s time to bleed those brakes! You’ll need to have some rubber tubing and a receptacle for the old fluid. I purchased these from Speedbleeder.com for several bucks. It looks like an IV bag that you’d see at the hospital. I put the bag in a bottle just to keep it upright during the process. Attach the tube to the Speedbleeder nipple, then unscrew Speedbleeder about a quarter to a half turn. At this point I opened the brake fluid reservoir and started pumping the brake lever. The old brake fluid will come through the tube and into the bag. Pump it slowly a few times and keep an eye on the reservoir. Make sure to fill it up with the new brake fluid when it gets low. Don’t let the level go into the tube. So just pump and fill until the fluid coming out the Speedbleeder and into the baggie is a nice clear color and you don’t see any air bubbles. This might take a while. Once that is done, tighten the Speedbleeder screw, remove the plastic tubing, and make sure you fill the reservoir up to the correct level. Close up the reservoir and try out the new (hopefully firmer) brake action.
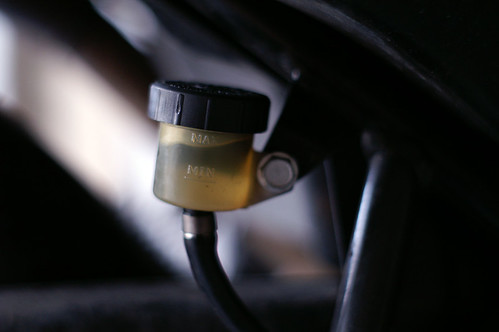
Nice, new brake fluid in the rear reservoir
Lastly, you can put the little covers over the Speedbleeder nipple. The one they provide is really cheap, so I used the old stock BMW covers which have a retaining ring. By the way, you can put this on after the operation is done since the retaining ring is stretchy enough to go over the bolt.
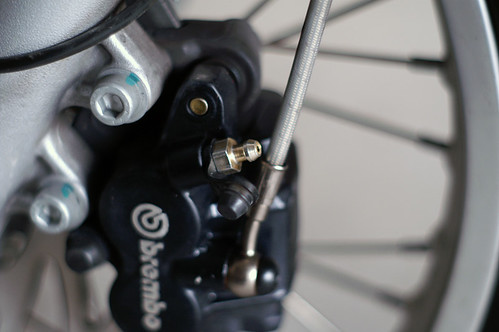
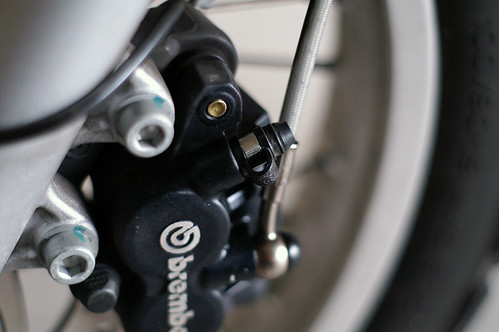
New front Speedbleeder with cap (off)
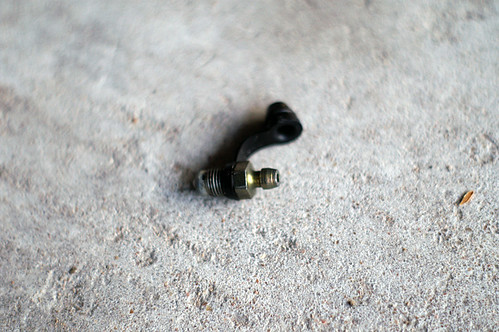
Old BMW bleeder screw
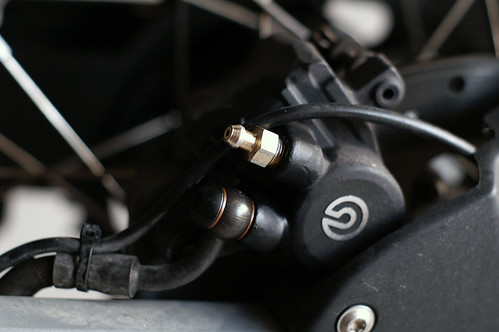
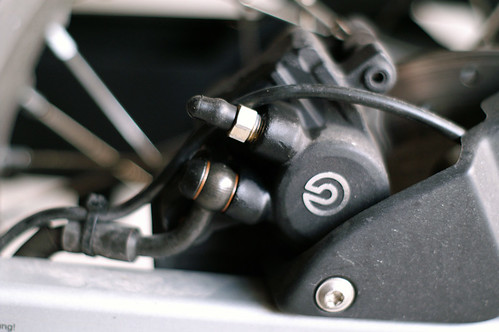
The shiny new Speedbleeder on the rear
The cheap nipple cap that came with the kit
With the old BMW cap back on
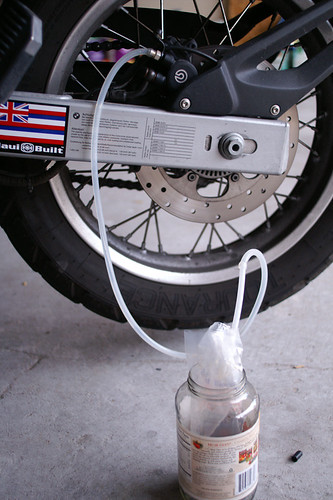
The tube leading to the receptacle